
Without a clear process
- Guesswork on measurements
- Budget surprises later
- Design changes during construction
- Delays from missing details
- Stress for the homeowner
Our Process
Before we build, we measure, plan, design, price, and coordinate the details that can make or break an outdoor living project.
Why this matters
A buildable plan helps homeowners move from uncertainty to clarity. When measurements, elevations, drainage, materials, and scope are understood early, the budget is less likely to change later for avoidable reasons.
The 5-step process
Each step narrows the unknowns before construction begins, so your outdoor living project can move from idea to build plan with fewer avoidable surprises.
Step 01
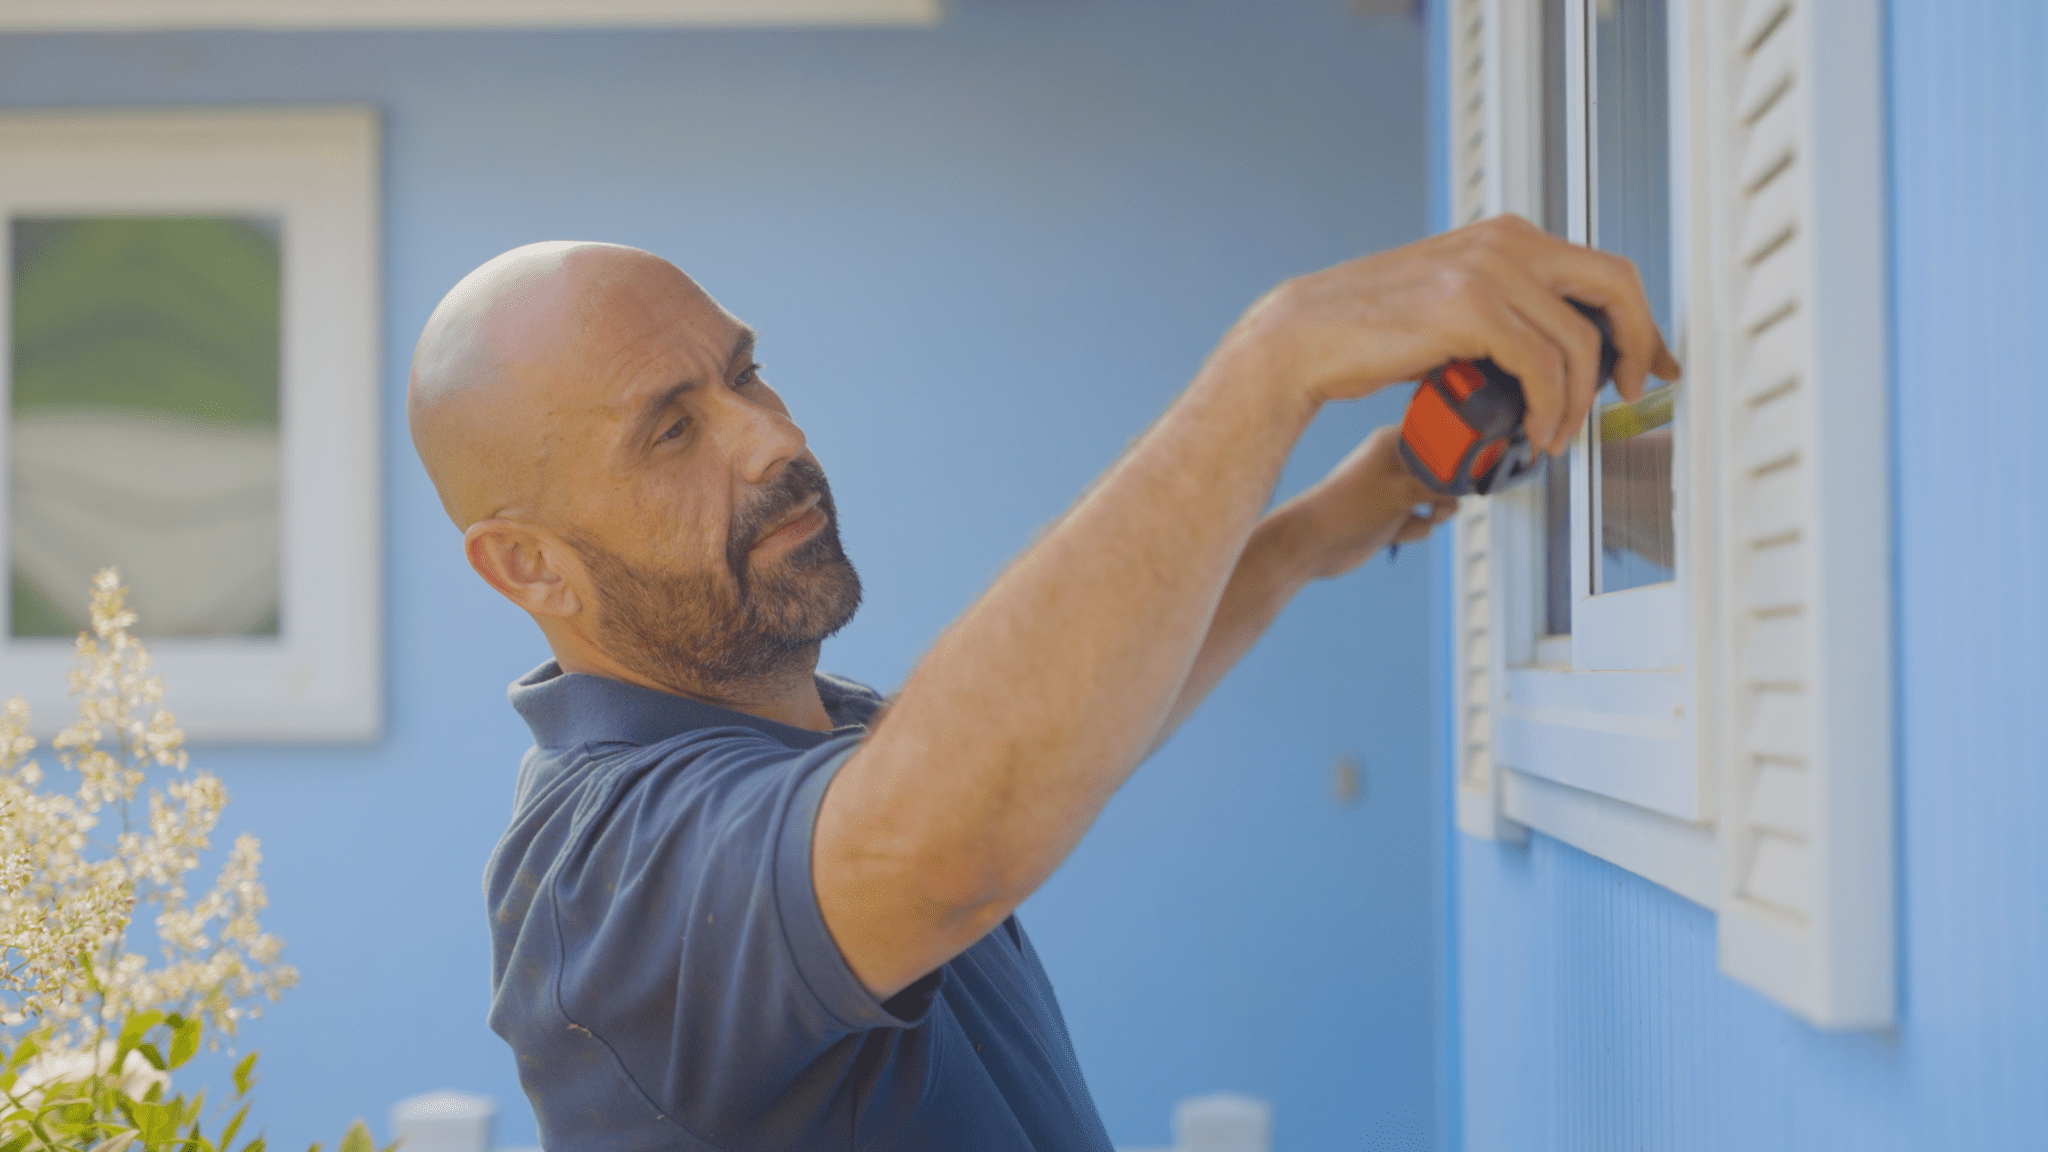
We measure the property before we design.
Our team documents existing property conditions using a Leica LiDAR scanner alongside precise field measurements, capturing elevations, drainage, access, utilities, structures, hardscape, and other site details for your designer.
The design starts with real information instead of assumptions.
Accurate site data helps avoid redesigns, drainage mistakes, grading issues, and unexpected construction changes.
Step 02
We shape the vision around your goals and budget.
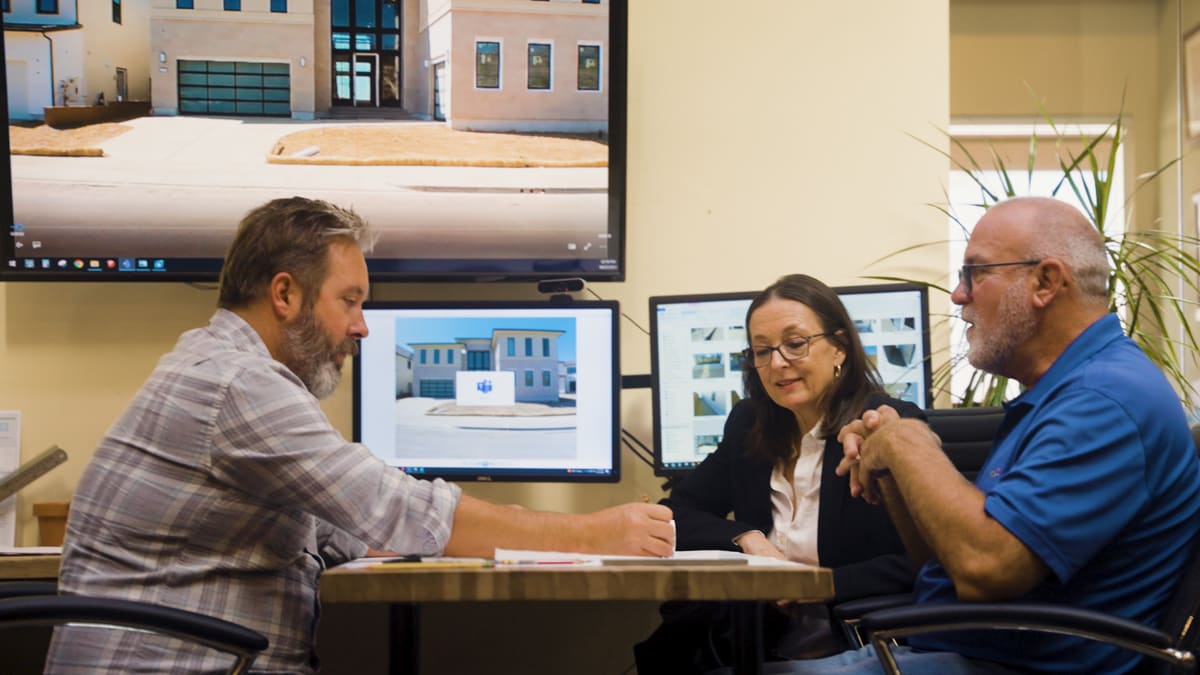
Your designer uses the site analysis to begin shaping a plan for how you want to live outside.
The project direction is guided by both creativity and buildability.
Early budget conversations help prevent designing a project that looks great but is unrealistic to build.
Step 03
We refine the layout, materials, and project direction.
Layouts, materials, planting, hardscape, and major features are reviewed together so the outdoor space feels cohesive.
The project becomes more specific before construction decisions are locked in.
Decisions made here reduce last-minute material changes, redesigns, and delays later.
Step 04
You see the project before construction begins.
3D renderings help you understand the finished space before committing to construction.
You can make confident decisions before crews are scheduled and materials are ordered.
It is much less expensive to adjust a design on screen than after construction has started.
Step 05
Our team builds from a clear plan.
The designer, job coordinator, and in-house crews are aligned on the plan, scope, materials, and schedule.
Everyone starts construction with the same expectations and direction.
A clear build plan reduces confusion, rework, delays, and miscommunication.
The cost of skipping planning
A rushed estimate may feel faster upfront, but if the property is not measured correctly, drainage is misunderstood, or materials are not selected early, the real cost often appears during construction. That is when changes become more expensive.
When measurements or site conditions are wrong, the plan may need to be redrawn after decisions have already been made.
When scope, materials, or site constraints are unclear, new costs can appear after construction is underway.
When selections, permits, access, or construction details are not aligned early, the schedule is easier to disrupt.
The process in practice
This project began with a challenging site and several outdoor-living goals. See how accurate site information, thoughtful design development, and clear construction planning shaped the finished space.
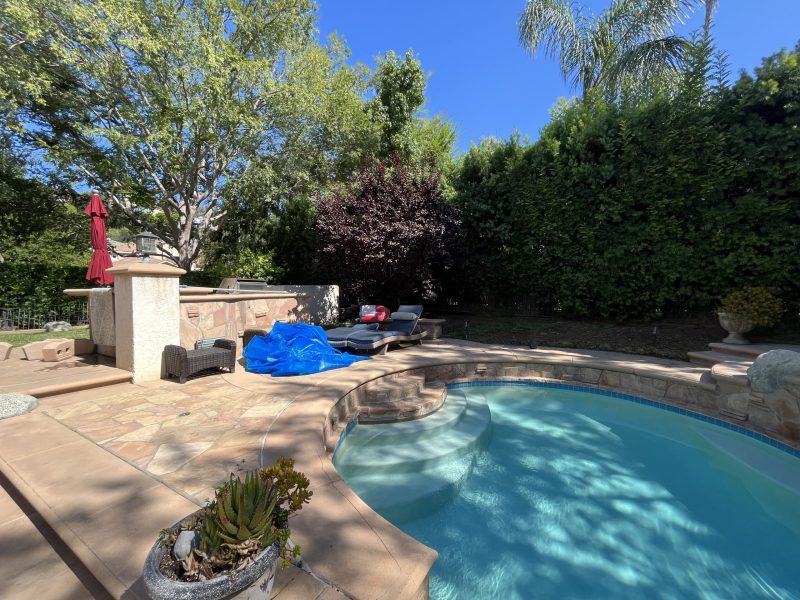
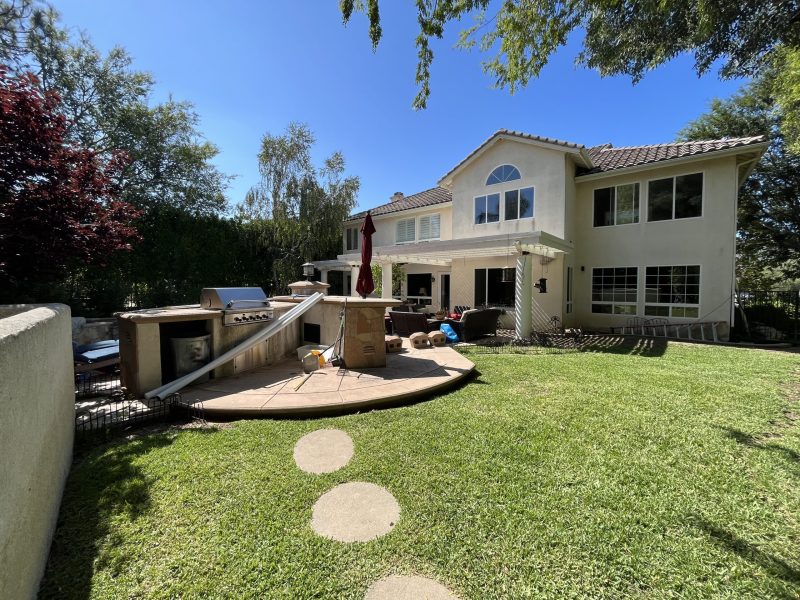
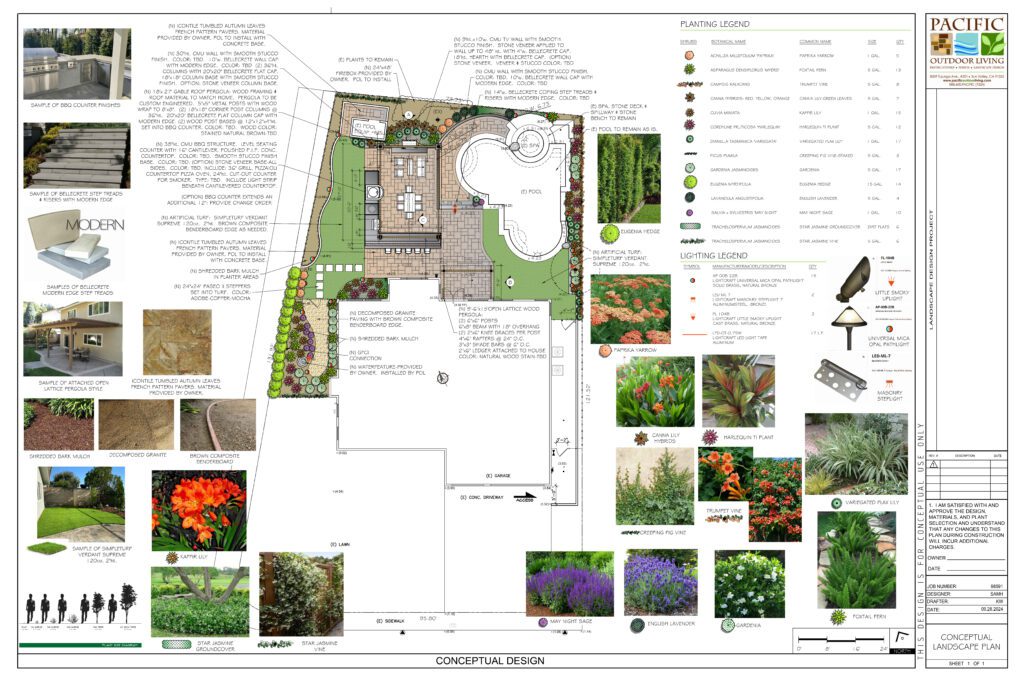
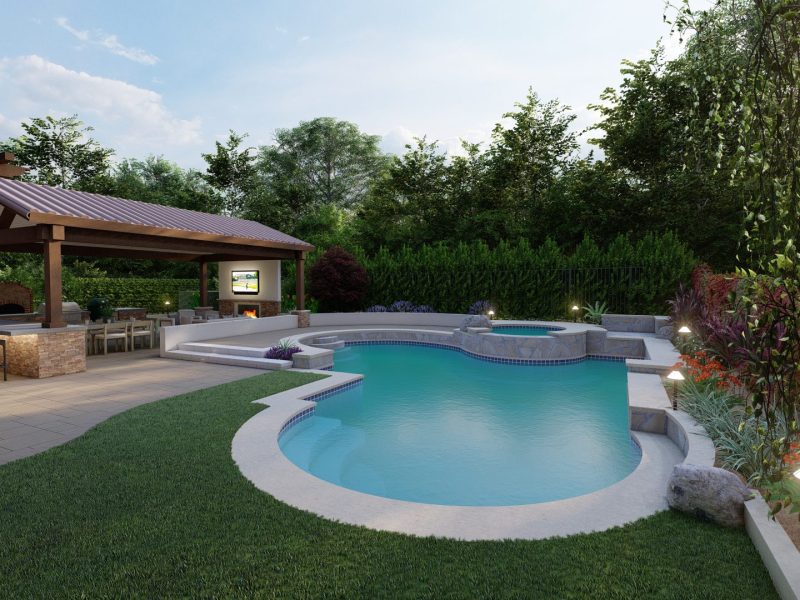
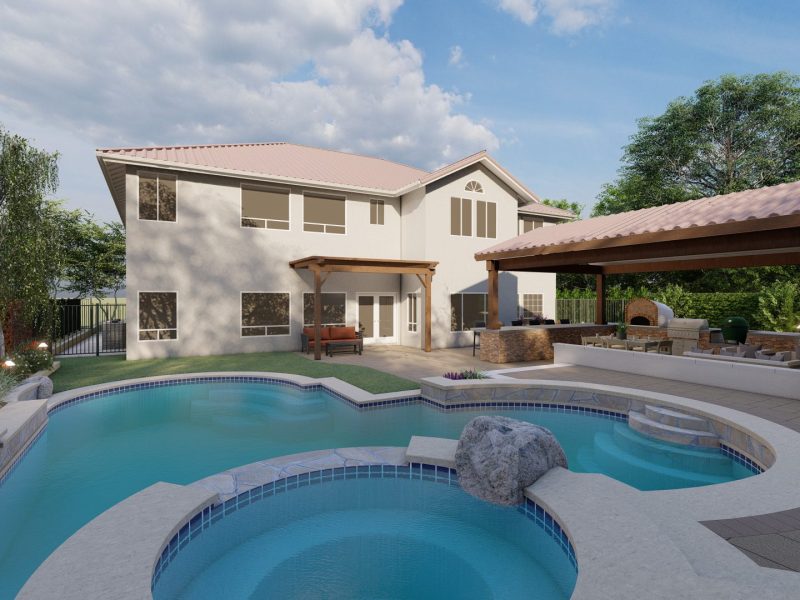
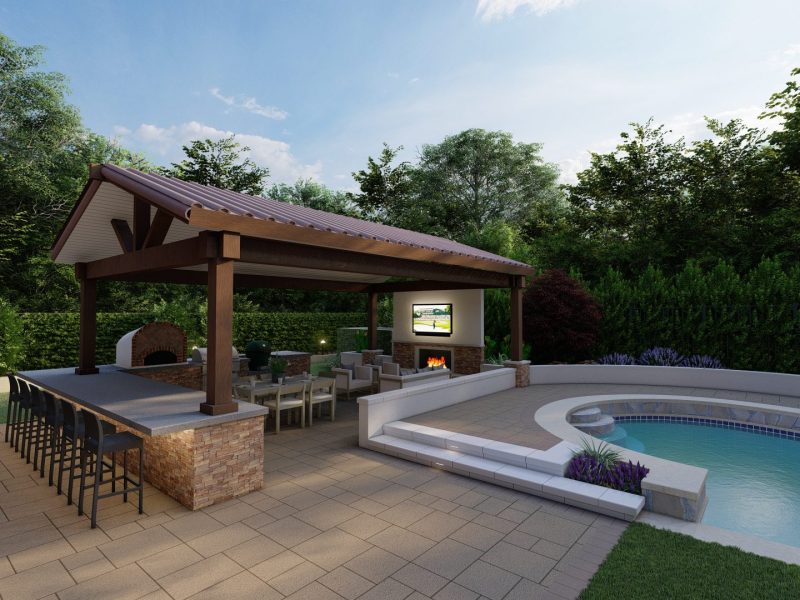
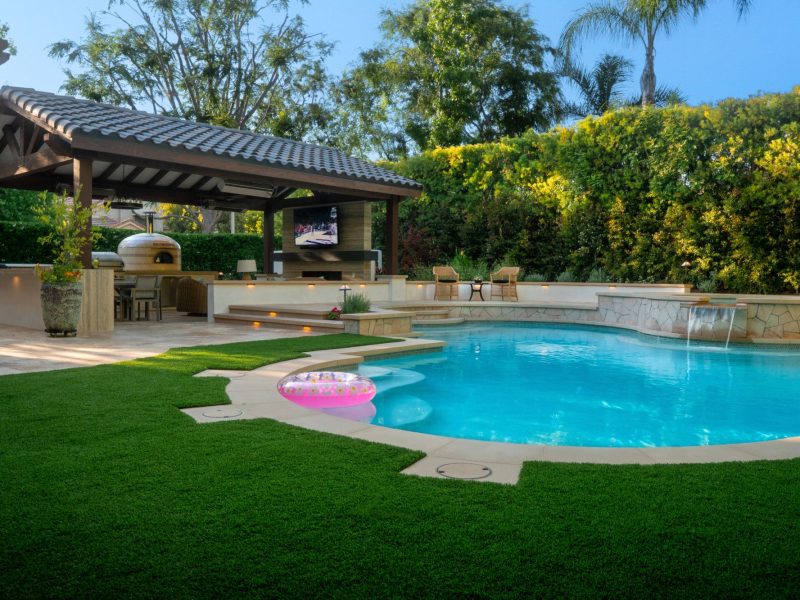
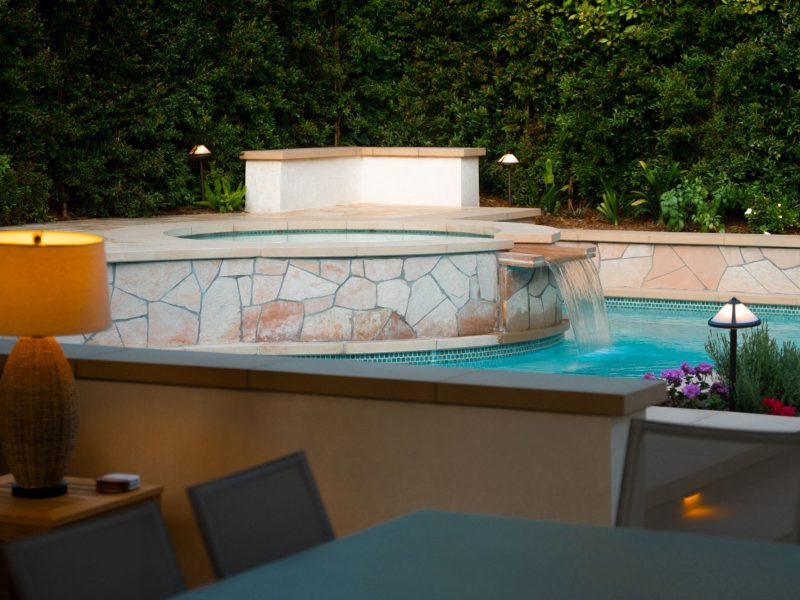
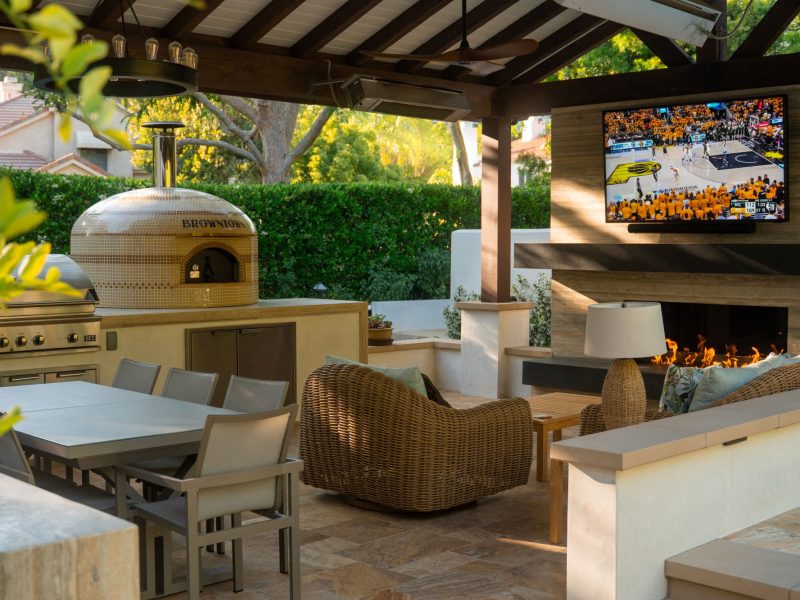
Step 1 of 5
Site Analysis
The team measured elevations, drainage, access, and existing structures on this property using a Leica LiDAR scanner, giving the designer a precise, to-scale record of the site before any design work began.
A complete site survey, existing-conditions report, and a 3D LiDAR scan of the property, yours to keep for future projects.
Why it matters: The design starts with real information instead of assumptions.
Questions homeowners ask
Our landscape design-build process begins with a Site Analysis, where we measure the property and learn about your goals and lifestyle. From there you meet your designer, we develop the concept design and 3D renderings, review the investment, refine the details, and prepare for construction with our own crews. Our philosophy is simple: thoughtful planning leads to better results.
Start with how you want to use your outdoor space. Entertaining, relaxing, dining, swimming, and time with family all shape the design. Then ask the practical questions: who designs it, who builds it, how permits are handled, how the price is developed, and who your point of contact will be during construction. Our Site Analysis is built to understand your lifestyle, priorities, architectural preferences, and investment goals before a concept is drawn.
A final price depends on real property conditions. Measurements, elevations, drainage, access, utilities, and existing structures can all affect the plan and the cost. The site analysis helps us price the actual project instead of guessing from a quick look.
The process is an upfront planning investment that helps clarify scope, materials, and build details before construction begins. It can help reduce avoidable redesigns, unclear allowances, and expensive decisions made too late.
We can discuss a general range, but a quick estimate is not the same as a build-ready plan. For meaningful pricing, the property needs to be measured, the scope needs to be defined, and the design needs to be aligned with the budget.
That conversation happens early. Your designer can help prioritize the most important parts of the project, phase the work when appropriate, or adjust materials and scope so the plan is more realistic.
3D renderings help you understand scale, layout, materials, and how the finished space will feel. It is easier to make changes on screen than after crews are scheduled and materials are ordered.
Change orders often happen when details are missing or assumptions are wrong. By measuring first, reviewing scope early, selecting materials, and coordinating the construction plan, the process helps reduce avoidable surprises.
We coordinate all of it. Grading, drainage, and permitting are planned during design rather than discovered during construction. Our design-build team accounts for slopes, soil, and water flow from the Site Analysis forward, our in-house permitting department handles approvals, and we bring in engineers and other licensed professionals when a pool, retaining wall, or structure calls for them.
Your designer, job coordinator, and in-house crews work from the same plan. The job coordinator becomes your point of contact during construction and helps keep communication clear as the project moves forward.
Landscape design cost depends on the size and complexity of the project. Your designer sets the fee at your first design meeting, once the Site Analysis has measured the property and the scope is clear. The design fee covers site measurements, an illustrated design, a 3D design, and revisions as needed. We see professional design as the first step in establishing the vision, refining the scope, and creating a practical foundation for construction.
A successful outdoor environment does not happen by accident. Professional design brings together architecture, function, materials, circulation, and aesthetics, so the finished space looks beautiful and works naturally with the home. It is also the least expensive place to change your mind: moving a wall on a drawing costs nothing, and moving it after the concrete is poured costs a great deal. The completed plan is yours to keep.
Design complexity, permitting, engineering, and construction scope all shape how long a backyard renovation takes. Design generally runs two to five weeks depending on revisions. Construction can be a few weeks on a smaller yard and three to six months on a full property with a pool, structures, and significant grading, and permit review time varies from city to city. We set clear expectations early and coordinate each phase so the construction experience stays organized.
Start smarter
Tell us about your property, your goals, and how you want to use the space. We'll help you understand the right next step.
Schedule Your Consultation